8. Audio Editing
If you’re looking to speed up your workflow in Pro Tools, you’re going to love this chapter. Let’s take a look my favourite editing hotkeys. If you want an overview of all the editing hotkeys available in Pro Tools, then please click here and scroll down to chapter 4.
Hotkeys used in this post
| Basics | ||
|---|---|---|
| cmd + C | copy | |
| cmd + V | paste | |
| cmd + D | duplicate after | |
| cmd + X | cut | |
| cmd + E | cut selection as new clip | |
| cmd + T | trim clip to selection |
| Editing | ||
|---|---|---|
| TAB | tab to next transient | |
| cmd + A | trim clip start to cursor | |
| cmd + S | trim clip end to cursor | |
| cmd + 7 | smart tool | |
| cmd + A | trim clip start to cursor | |
| cmd + S | trim clip end to cursor | |
| cmd + U | strip silence |
| Fades | ||
|---|---|---|
| D | fade clip start to cursor | |
| G | fade clip end to cursor | |
| F | crossfade | |
| cmd + F | batch fade | |
| cmd + A | trim clip start to cursor | |
| cmd + S | trim clip end to cursor |
| Grouping | ||
|---|---|---|
| alt + cmd + G | group clips | |
| alt + cmd + U | ungroup clips | |
| alt + cmd + R | regroup clips |
| Other | ||
|---|---|---|
| alt + shift + 3 | render as clip/audiofile | |
| alt + 2 | slip mode |
Tip: Not all the editing hotkeys available will be covered in this post, make sure to also check out the hotkeys page as well.
Cutting and pasting audio
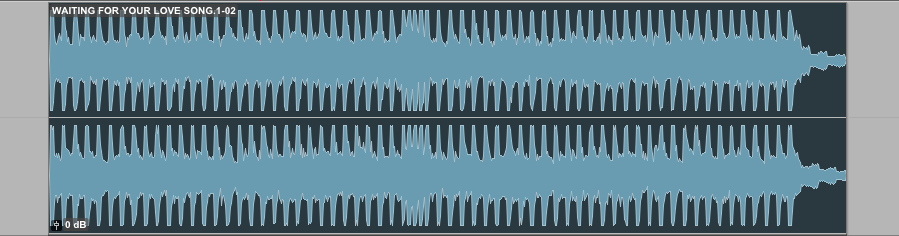
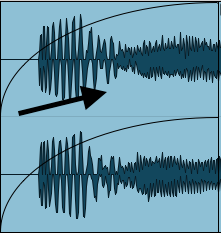
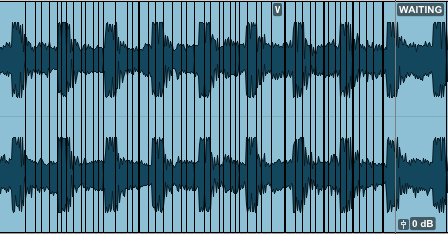
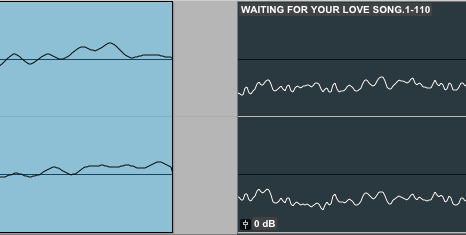
Let’s say you want to cut of the beginning of the following clip:
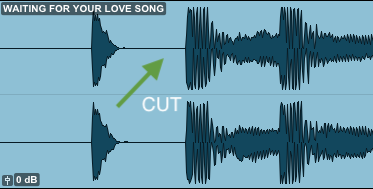
We can place our playhead in between the first wavform and the second and hit TAB to jump to the next transient (make sure tab to transient is on, see picture below). If we hit A after that it will trim of the beginning of the clip to where you have placed your playhead.
![]()
TIP: Make sure to turn tab to transient. (as shown in the picture above)
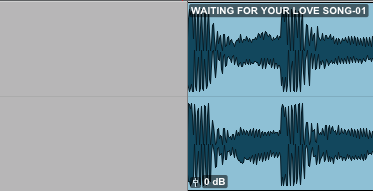
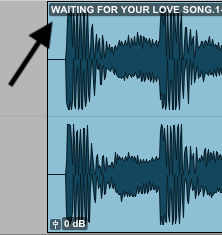
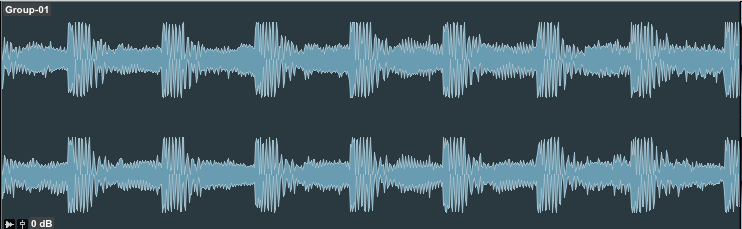
If you have trimmed of the beginning of your clip it should look something like the picture below. Of course you can also trim of the end of a clip by using the hotkey S.
Cutting out a little piece of a clip
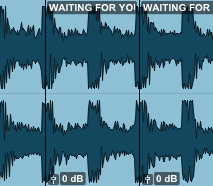
Cutting a piece out of a clip can be easily done by selecting the piece and then use CMD + E.
Trim clip to selection
Let’s say you have a clip that contains a bit of silence in the beginning and at the end. You can easily get rid of the beginning/end by selecting the part that contains audio and then use the hotkey CMD + T.
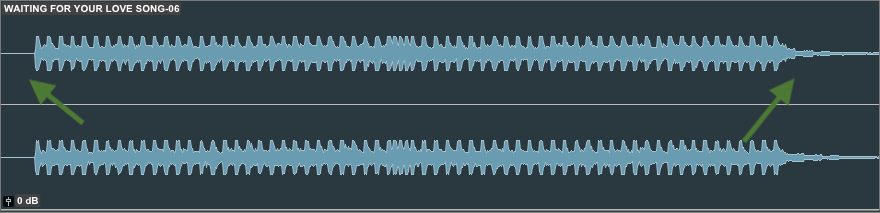
As you can see it will cut of the beginning and end.
Fades in/out
Making fades is something you’ll probably find yourself doing very frequently. There are two ways that I use to create fades in Pro Tools. For the first one you’ll first need to enable your smart tool.
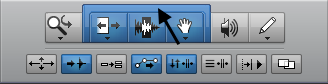
This can be done by clicking just right above the other tools (see the arrow in the picture above). Or just simply by pressing CMD + 7.
When you have your smart tool enabled you can place your mouse just on the top corner of a clip. Your mouse will now change in a little square. Now you can left click + drag and a fade is created. This can be used to create fade ins and outs. Just make sure you place your mouse on the top left/right corner of a clip.
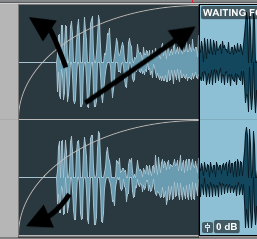
You can accomplish the same by using the hotkeys D for fade in and G for fade out. These hotkeys will make a fade in/out from the beginning/end of clip to wherever you have placed your playhead.
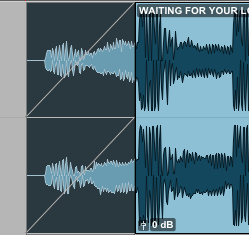
Tip: You can adjust the curve of a fade by placing your mouse on the 2nd half of a clip (see black arrow in the image below) and then left click + drag up/down.
By clicking on the top right corner or the left top/bottom corner of the fade, you can adjust the length of a fade. Hovering over one of these corners will turn your mouse into a [ (see picture below).
Tip 1: As long as you have your smart tool enabled CMD + 7 you can also adjust the length of a clip by placing your mouse on the corner of a clip.
Tip 2: You can also use the hotkey ALT + - or + to make the beginning of a clip longer/shorter or CMD + - or + to do the same thing, but for the end of a clip.
Note that u need to use the ‘-‘ and ‘+’ key on your numpad or else these hotkeys won’t work.
Crossfade and Batchfade
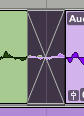
Crossfading two clips works pretty much the same except you use the hotkey F. With the smart tool enabled you make a selection of e.g. the beginning and end of two clips and then hit F.
Adjusting the fade can be done via the same way you would adjust a normal fade. If you’d like to adjust your fades in more detail there’s batchfade. Select a fade and hit CMD + F. (you could also use this hotkey to create new fades).
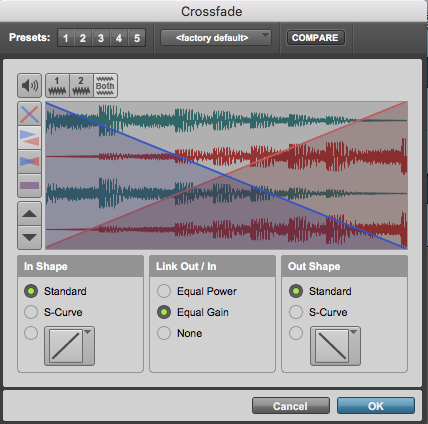
The batchfade window offers lots of possibilities, but I won’t go into them right now as this chapter is just for covering the basics.
Grouping clips
If you’ve made lots of edits to a clip e.g. you have used strip silence CMD + U, it may look like a mess.
You can fix this by selecting all the clips and then group them using ALT + CMD + G.
Now imagine you listen back and notice you messed up one of our edits. The correct way to fix this would be:
- Select the group
- Use the hotkey CMD + ALT + U to ungroup the tracks
- Fix your edit
- Select all the clips again
- Use CMD + ALT + R to regroup the clips
It’s better to use the regroup hotkey instead of grouping the clips again because:
- This way you don’t have to rename your group again
- You don’t have to precisely select the first till the last clip but your can make a ‘wide’ selection and it will only put the clips you already had put in a group, back into the same group. (see picture below)
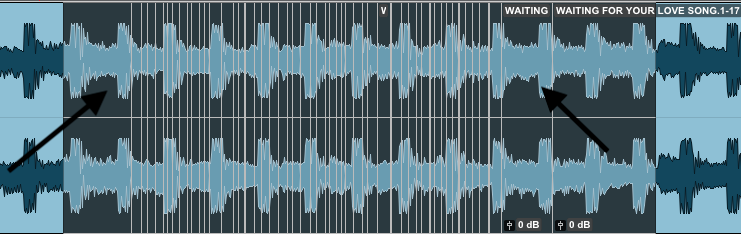
Note that in the picture above I’m also selecting clips that I don’t want in my group. Because I’m using CMD + ALT + R to regroup the clips, it will just ignore the other clips I have selected. So this would result in the picture below:
Tip: Try not to group clips, then make an edit to that group (without ungrouping the group), and then group the clips again. This will result in 1 group consisting of multiple groups and it will be an absolute mess.
Turning a group into a file on your computer
Grouping multiple clips into 1 clip will result in a group that only Pro Tools understands. This means it will not create an actual .wav or .mp3 file somewhere on your computer. If you do want to commit and create an actual file on your computer so that you could send it to a friend or client you can use the hotkey ALT + SHIFT + 3. Note that this ignores any plugins you may have on a channel. So it’s not like the Pro Tools function ‘commit’ which is known in other DAWs as either ‘bouncing in place’, ‘freeze/flatten’ or ‘render as audio file’.
Pro Tools Modes
Pro Tools has different modes such as: grid mode, slip mode, spot mode, and shuffle. In chapter 2 we’ll take an indepth look at these 4 modes.
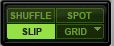
Anyway, slip mode is pretty relevant for this chapter, so I’ll be explaining the benefits of using that right now. Using ALT + 2 or F2 gets you into slip mode. If you want two clips to be just right next to each other you can use slip mode, which will slip the clips together. Which means you don’t have to zoom in to perfectly line them up like this:
This is the end of this post, click here for the next one and here for the previous post!