5. Working with playlists
We have already looked at loop recording, but comping that way is quite a hassle. Lets now take a look at how we can loop record using playlists.
hotkeys used in this post
| Playlists | ||
|---|---|---|
| CTRL + CMD + CLICK | switch between waveform/playlists (when u click on the blue arrow) | |
| SHIFT + S | solo track (need to select the track first) | |
| P or ; | select track up/down | |
| CTRL + \ | new playlist | |
| ALT + SHIFT + ↑ | promote selection to main playlist | |
| SHIFT + ↑ or ↓ | cycle through playlists | |
| SHIFT + → | make playlist the main playlist |
| Fades | ||
|---|---|---|
| F | crossfade | |
| cmd + F | batch fade |
| Modes | ||
|---|---|---|
| ALT + 2 | slip mode | |
| ALT + 4 | grid fade |
Auto create new playlists
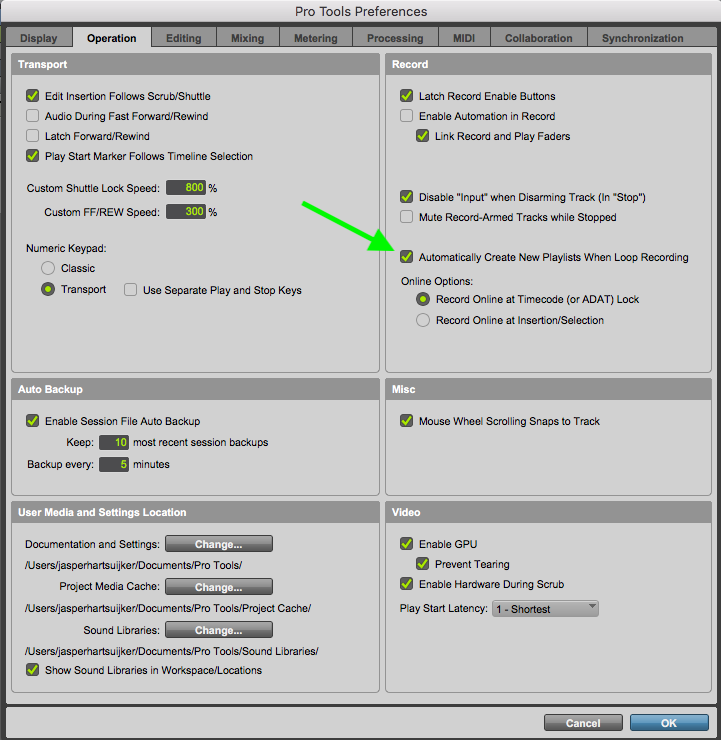
If you like to always use playlists when recording in loop mode then turn on this setting. Go to Pro Tools –> Preferences –> Operation tab –> turn on Automatically create new playlist when loop recording.
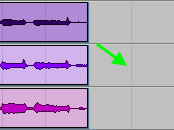
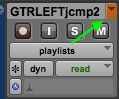
If you now loop record a couple of takes PT will automatically put those takes into a playlist. You can see that an audio track has a playlist inside of it by this blue arrow:
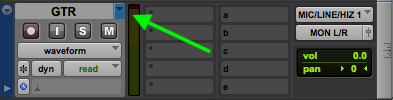
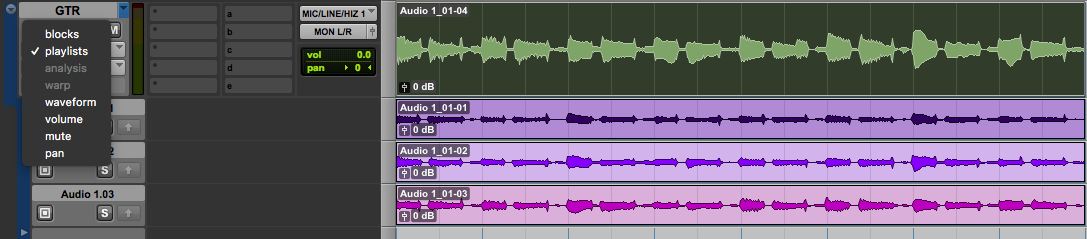
PT will only show you the last recorded take. You can see your other takes by either clicking on the grey box that says waveform and select playlists. Or by clicking on the blue arrow while holding down CONTROL + CMD. This will switch between either showing you the waveform or the playlists.
Listening for good takes
PT will play the main playlist (the top one) by default. If you want to listen to your other takes you can either click on the S button on that track or you can click somewhere on the track you want to hear and use the hotkey SHIFT + S.
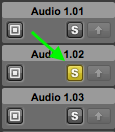
With selecting a track I mean you can just click somewhere in the arrangement window like here:
After that you can switch between the tracks by using the P to go up and the ; to go down. Just make sure you have the commands focus enabled which is the little black/yellow box that says a/z in the top right corner. If this is turned off you cannot use single keystroke commands so you’ll have to use CTRL + P instead of just P. When you’re in waveform mode you can also cycle through playlists by using the hotkey SHIFT + ↑ or ↓.
Making a comp
First thing I do when making a new comp is creating a new playlist. To do this you select the track and then hit CTRL + / (its actually a backslash instead of a forward slash). I’ll name this something like JASP COMP 1 so that when the producer makes his own comp I can always go back to mine.
- Tip 1: You can use ALT + 2 to get into slip mode so u select pieces of audio more precise. ALT + 4 to go back to grid mode.
- Tip 2: After you have selected a piece of audio you like you can promote it to the main playlist (see: ‘Changing the target playlist’ for more information about the main playlist) by using the hotkey ALT + SHIFT + ↑.
Crossfades in your comp
When you’re using different pieces of different takes in your comp you often want to use crossfades in order to make the transitions sound natural.
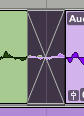
You can easily create crossfades by placing your mouse on the bottom where two tracks overlap. (make a gif out of this!!)
- Tip: Selecting audio files and pressing CMD + F or F will allow to quickly create some fades and crossfades.
Changing the target playlist
By default the playlist on the top which we call the main playlist is the target playlist meaning that when we use the hotkey ALT + SHIFT + ↑ you’re promoting the selected audio to this target playlist. But what if we’re done making our comp and the producer wants to make his own comp. We can make his playlist the target playlist by click on this little icon here:
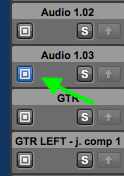
If we’re using a playlist as target playlist that is not the main playlist you’ll see this little arrow turning orange:
Making a playlist the main playlist
You can move any playlist to the top so that it becomes the main playlist by clicking on the little blue/orange arrow and then go to: target playlist and select the playlist you want.
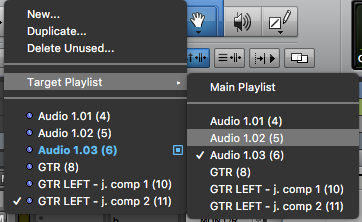
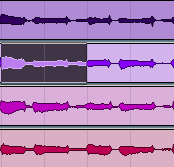
Whenever you have a list of playlists like the picture below and want to make one of them the main playlist so that it sits on top do the following:
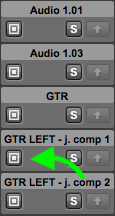
- Click somewhere in the arrangement window on the main playlist track.
- Make the playlist you want to become the main playlist the target playlist by clicking the little icon (shown in the image above) so that it becomes blue.
- Use the hotkey: SHIFT + →
Rating clips
You can rate playlists by selecting them and pressing CONTROL + ALT + CMD + 1, 2, 3, 4, or 5.
You can decide for yourself if 5 means really good or really bad, I like to use 5 for best. You can also rate takes while loop recording, just make sure you rate it before the loop ends. After that you can filter the playlists so that you will only see the best takes.

So if you only want to see takes that have a rating of 3 or higher: just right click on one of the playlists and go to: Filter Lanes → Show only Lanes with → Clips Rated 1/5 → 3
Tip: You can show the clip rating inside of a clip by going to: View –> Clip –> Rating. Via View and then Clip you can also show things like the clip gain, which I find very useful to see.
This is the end of this post, click here for the next one and here for the previous post!