4. Deleting (unused) clips
Now that you know how to do some basic loop recording inside of Pro Tools you probably have lots of clips you don’t use. These clips can take up a lot of space on your hard-drive, so if you’re sure you don’t need them anymore, why not delete them?
hotkeys used in this post
| Working with clips | ||
|---|---|---|
| CMD + SHIFT + U | select unused clips | |
| CMD + SHIFT + B | delete selected clips |
Clip Window
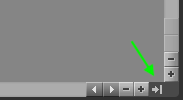
In Pro Tools audio files are called clips. By default Pro Tools stores new clips into the Audio Files folder. Pro Tools automatically creates this folder for you. You can find this folder in the same folder as where you’ve saved your Pro Tools session. To view all the clips that are currently in your PT session you need to open up your clip window. If you don’t see the clip window, click the little arrow on the bottom right corner:
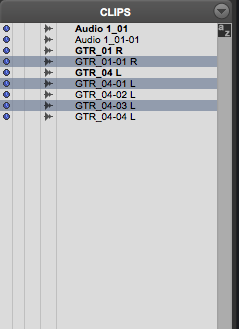
Inside your clip window you can select any clip you like. As always hold CMD to select multiple clips at the same time.
- CMD + SHIFT + U = select unused clips
- CMD + SHIFT + B = delete selected clips

If I’m absolutely sure I won’t use the clips because for example the takes were really bad, I’d like to delete them forever! For every single audio clip Pro Tools will show you a window asking what you want to do with the specific clip.
Tip: You can hold the ALT key and then click on delete which will delete all the clips at once.
This is the end of this post, click here for the next one and here for the previous post!